
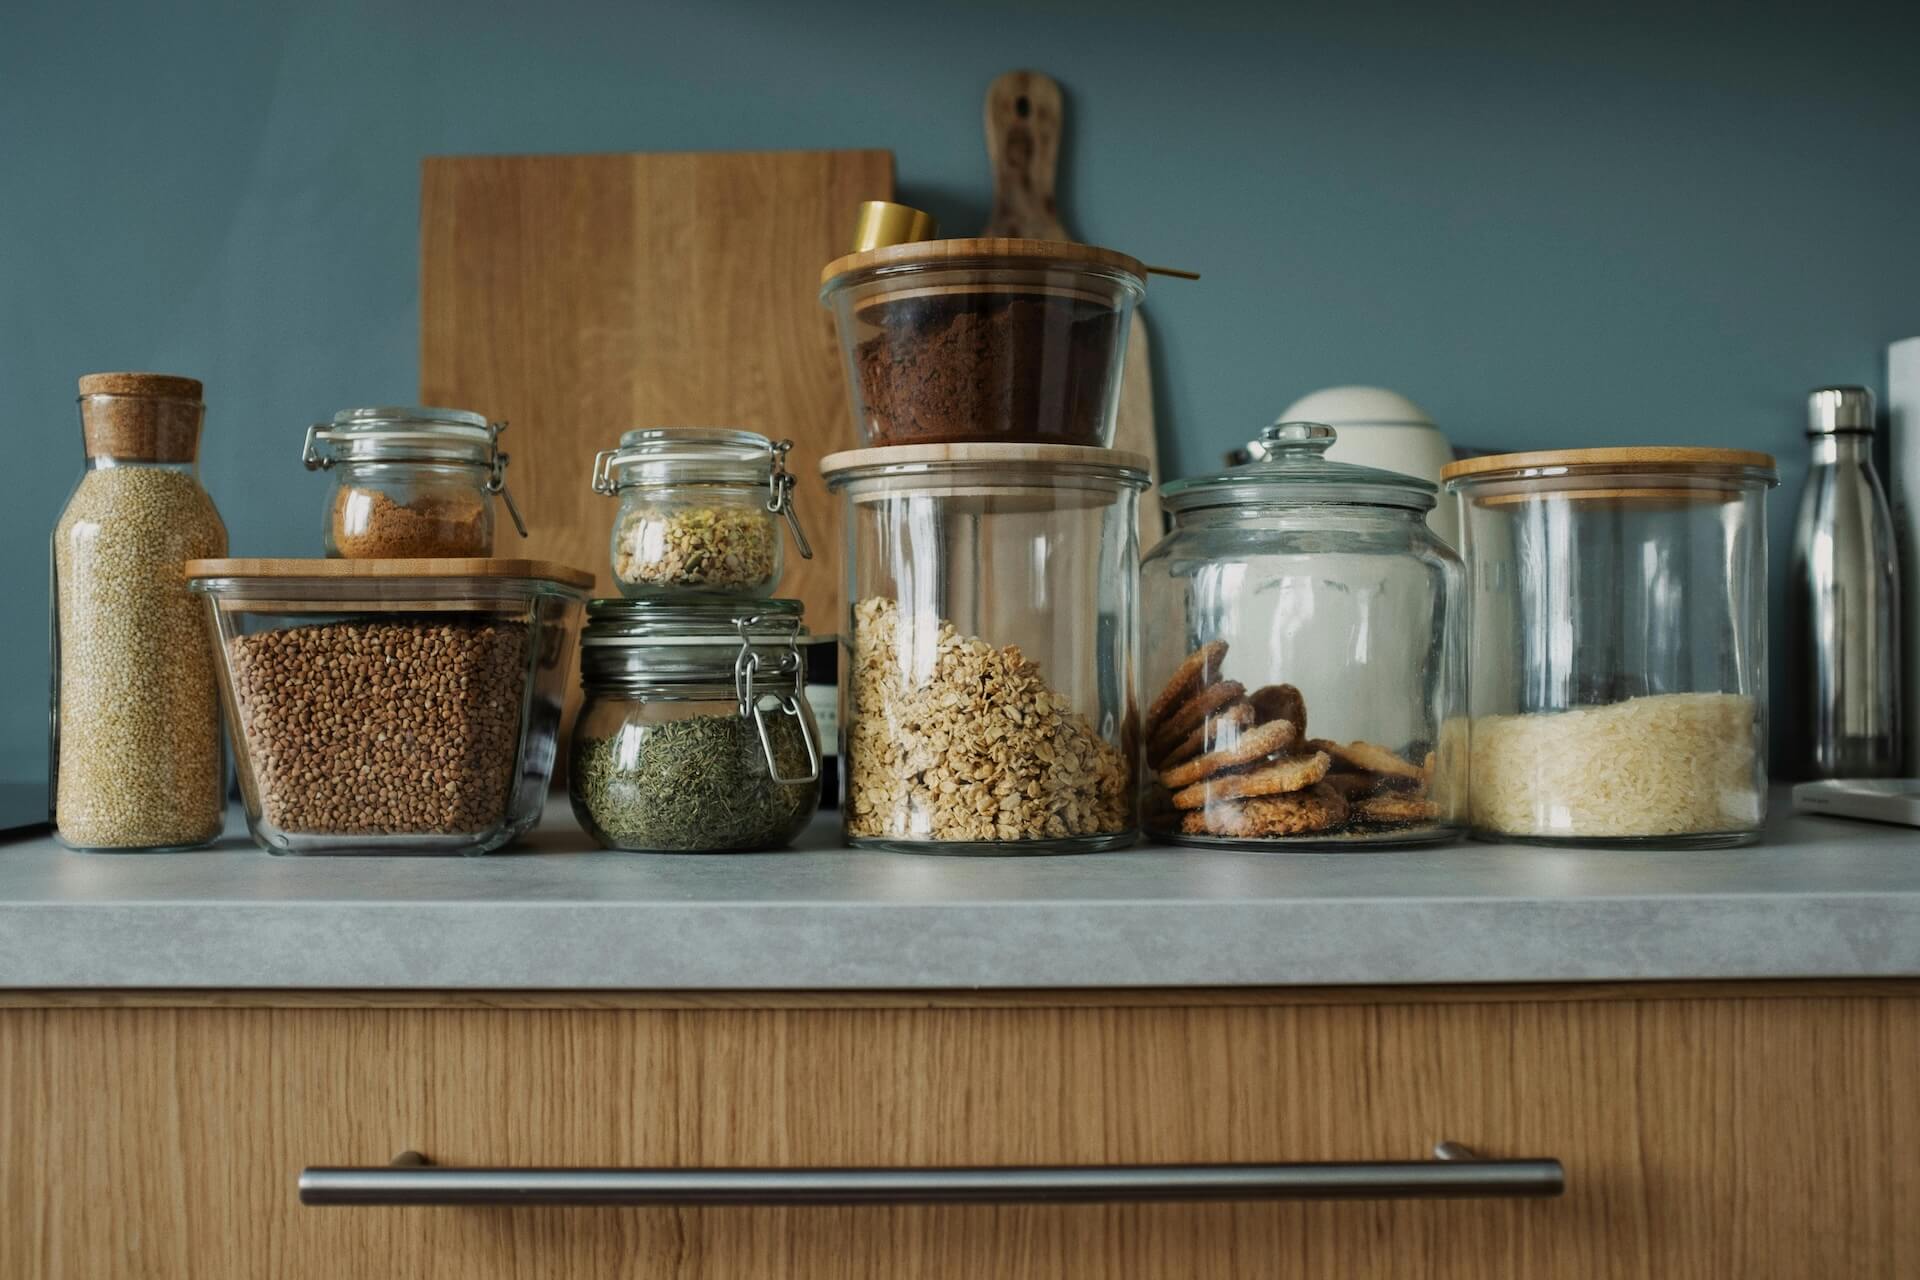
7 Best Pantry Labels For Dry Goods That Stay Put
Find the 7 best pantry labels for dry goods that stay put! Organize your kitchen with labels that stick. Shop now for lasting organization.
A cluttered pantry often turns a simple weeknight dinner prep into an unnecessary treasure hunt. Whether dealing with a tiny apartment cupboard or a sprawling walk-in pantry, finding the right way to label containers saves precious time and eliminates guesswork. These seven options cater to different storage habits, ensuring every bag of flour and box of pasta stays clearly identified.
Avery Dissolvable Labels: For Jars You Reuse
When the rotation of dry goods is constant, labels that disappear without a trace are a homeowner’s best friend. These dissolvable options are ideal for bulk bins or recycled glass jars that frequently move from the pantry to the dishwasher. Simply run them under warm water, and the adhesive vanishes completely, leaving no sticky residue behind.
This eliminates the frustration of scrubbing dried-on paper or scraping off stubborn adhesive patches. It is a perfect solution for households that like to change their bulk storage contents regularly, such as switching between various grains or legumes.
The bottom line is simple: if storage jars serve multiple purposes throughout the year, these labels provide the cleanest slate. They are a low-cost, high-convenience choice for those who dislike permanent clutter on their containers.
Brother P-touch TZe Tape: For a Permanent Look
For those who want a crisp, professional appearance that stands the test of time, thermal transfer tape remains the gold standard. These labels are resistant to moisture, heat, and spills, making them perfect for high-traffic shelves where jars are grabbed daily. Because the ink is trapped beneath a clear layer, the text will never smudge or fade over years of use.
The upfront cost of a label maker is higher, but the per-label cost is remarkably low. This makes it an efficient long-term investment for larger households that need dozens of matching, legible labels for an entire pantry system.
Choose this option if consistency is the primary goal. While they are harder to remove than paper labels, they provide the durability needed for heavy-duty pantry staples like sugar, flour, and coffee.
Cricut Smart Vinyl: Best for Custom Designs
If the pantry serves as a visual focal point in the kitchen, vinyl decals offer unparalleled aesthetic control. With a cutting machine, labels can be customized to match any font, size, or style, transforming mismatched jars into a cohesive display. This is the preferred route for homeowners who want their organization to double as decor.
The learning curve is steeper, and the initial investment in a machine is significant. However, for those who value unique personalization, the ability to create specific labels for odd-shaped containers or custom pantry baskets is unmatched.
Keep in mind that vinyl requires careful application to avoid air bubbles. It is best suited for dry, cool environments where the jars are not subjected to constant temperature swings or frequent washing.
Talented Kitchen Chalkboard Labels: For Flexibility
Chalkboard labels offer the charm of a rustic aesthetic with the practicality of being erasable. Using a liquid chalk marker, information can be updated whenever a container is refilled with a different ingredient. This is particularly helpful for households that buy in bulk and rotate different nuts, snacks, or baking supplies throughout the season.
These labels are generally made from a durable, water-resistant vinyl, allowing them to be wiped clean with a damp cloth. They provide a softer look than a printed plastic label, which fits well in farmhouse or traditional kitchen designs.
The main trade-off is maintenance; the handwriting must remain neat to keep the pantry looking organized. If the household prefers a uniform, machine-made look, this might feel too informal.
OLIKER Pre-Printed Labels: For Quick Organizing
For the busy homeowner who wants an immediate, polished result without the hassle of printing or writing, pre-printed sticker sets are the quickest fix. These sets typically feature standard pantry staples like “all-purpose flour,” “rolled oats,” or “white rice” in elegant typography. They offer an instant upgrade to the appearance of a pantry without requiring any technical skill.
Because they are mass-produced, they lack the flexibility to label specific or unusual items. However, most sets are comprehensive enough to cover 90% of the average family’s dry goods.
These are an excellent middle-ground option for those who want a high-end look on a budget. Before purchasing, verify that the font and size match the existing containers to ensure a clean, uniform finish.
Sharpie Paint Pen: The Best DIY Permanent Marker
Sometimes the simplest tool is the most effective. A white or metallic oil-based paint pen allows for direct writing on glass or plastic containers with a clean, hand-lettered aesthetic. This is a highly cost-effective method for labeling dozens of jars at once without the need for additional sticker purchases.
Paint pens offer a distinct advantage: they are permanent enough to stay put during daily handling, yet they can be removed with a bit of rubbing alcohol or a specialized cleaner when it is time to switch things up. This gives the homeowner the best of both worlds.
The quality of the result depends entirely on penmanship. Practice on a piece of scrap paper before touching the jars to ensure the flow of the paint is smooth and consistent.
Avery Waterproof Film Labels: For Heavy Use
In a household where jars are frequently handled, wiped down, or stored in humid pantry conditions, standard paper labels simply won’t survive. Waterproof film labels are designed to withstand moisture and grease, making them the most durable option for long-term storage. The film material is tear-resistant and maintains its clarity despite constant wear.
These are best for heavy-use items that are never removed from their original jars, such as staples like baking soda, baking powder, or cornstarch. Once applied, they are intended to stay put until the container is discarded.
While they are more expensive than basic address labels, they prevent the annoyance of frayed, stained, or peeling edges. For a long-term, set-it-and-forget-it organization system, they represent a solid value.
Label Maker vs. Handwritten: Which Is Best for You?
Choosing between a machine-printed look and a handwritten style comes down to the household’s need for uniformity versus speed. Label makers provide a consistent, high-contrast look that is easy to read from a distance, which is ideal for deep shelves or high-up storage. They remove the stress of needing perfect handwriting and ensure that everyone in the house can identify the contents of a jar at a glance.
Handwritten labels, conversely, allow for personality and immediate customization. They are perfect for households that prefer a cozy, lived-in feel and do not mind the occasional imperfection.
Consider the time investment: a label maker requires inputting data, whereas a pen is an instant tool. If the household has many young children who may confuse similar-looking ingredients, the high clarity of a printed label is often the safer, more practical choice.
Getting Your Labels to Stick: A Prep Guide
No matter the quality of the label, it will eventually peel if the surface is not prepared correctly. Before applying any label, wipe the jar with a small amount of rubbing alcohol to remove grease, fingerprints, or residue from the factory finish. Even a clean-looking jar can have an invisible layer of oil that prevents adhesive from bonding.
Ensure the surface is completely dry before application. If the container is cold from a grocery trip or a cool pantry, let it reach room temperature to improve the adhesive’s performance.
When applying, press firmly from the center outward to push out trapped air bubbles. This simple technique ensures a smooth, professional look that lasts significantly longer than a rushed application.
What to Write on Labels (Besides the Obvious)
While naming the ingredient is essential, adding a few extra details can transform how the pantry functions. Including an expiration date or a “best by” date is highly recommended for items that are not used every day, such as specialty flours or grains. This prevents waste and ensures that older supplies are rotated to the front.
If the item has specific preparation instructions—such as water ratios for rice or boiling times for pasta—writing them directly on the back or bottom of the jar saves time during cooking. It eliminates the need to dig for original packaging or search for instructions online.
For busy families, consider adding a check-box or a “refill” note. This acts as a visual prompt, making it easy to create a shopping list at a glance without having to open every single bin to see what is running low.
Proper labeling is more than just an aesthetic choice; it is a fundamental tool for managing a smooth, efficient kitchen. By balancing the need for durability with the reality of daily use, homeowners can create a system that truly serves their specific needs and routines. Choose the method that fits the household’s pace, and enjoy the peace of mind that comes with a perfectly organized pantry.
