7 Sealant Smoothing Pads for Tight Bathroom Gaps
Find the perfect sealant smoothing pads for tight bathroom gaps. Get a professional finish!
Few things are as frustrating as staring at a crumbling, mold-stained bead of caulk around a bathtub or sink. While the task of resealing seems simple, the difference between a amateur-looking mess and a professional finish often comes down to the tool in hand. Selecting the right smoothing pad ensures water stays where it belongs, protecting subfloors and cabinetry from costly water damage.
Hyde Caulk Aid: A Simple Tool for Tidy Lines
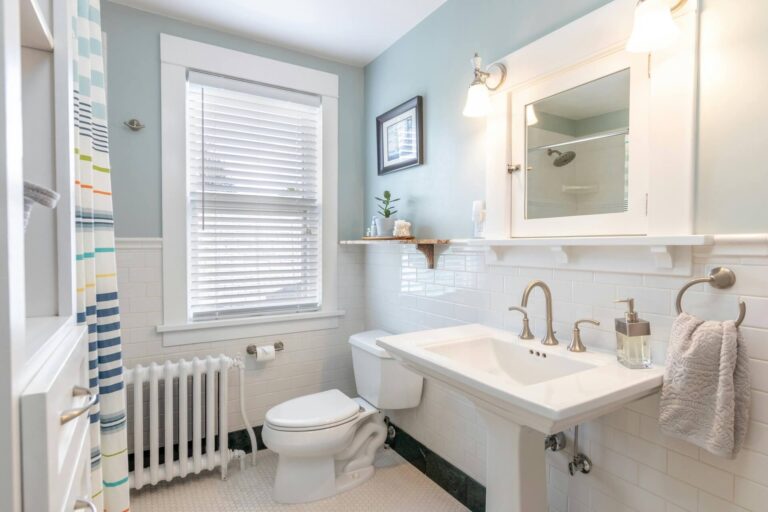
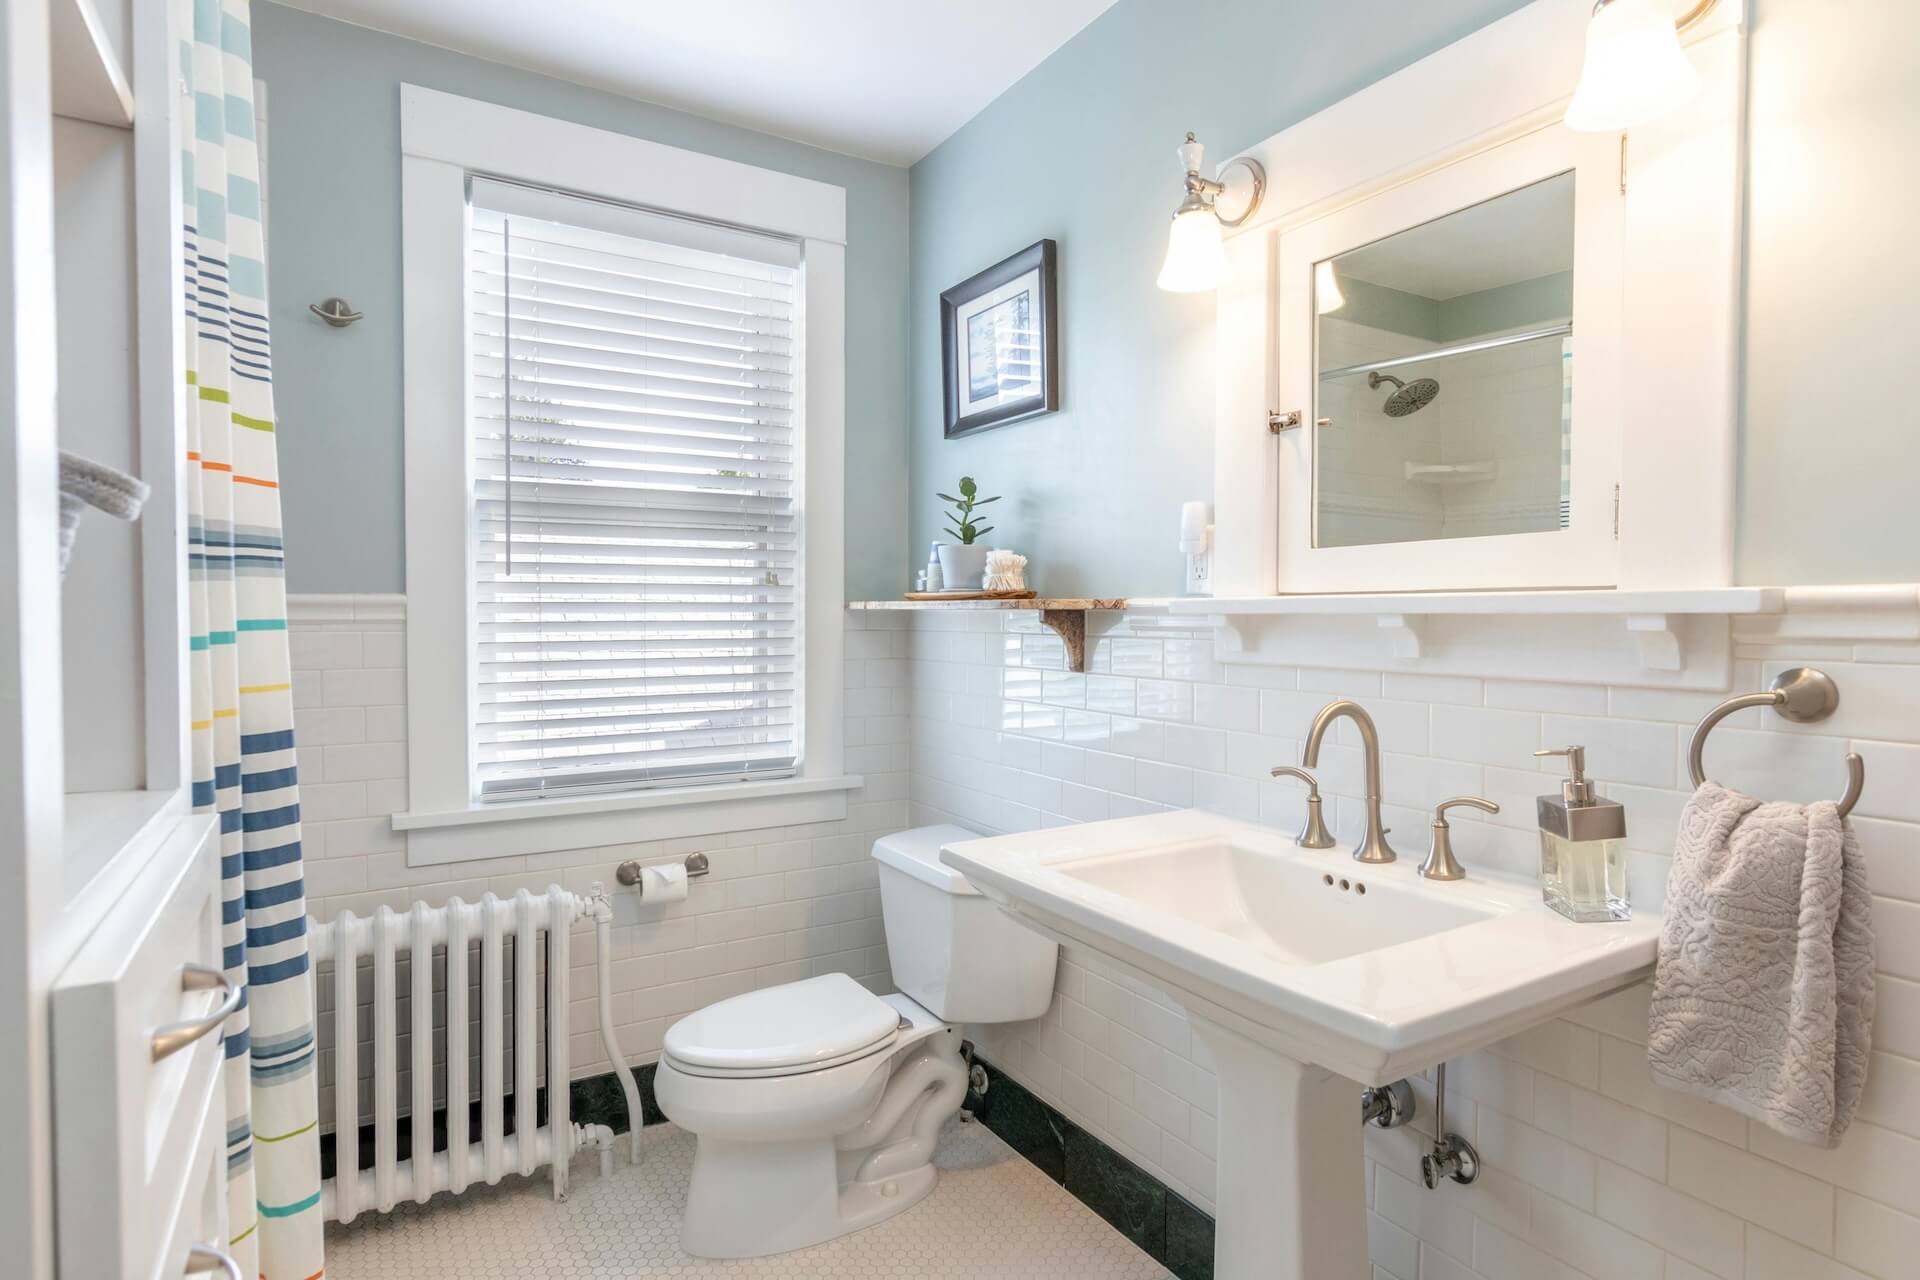
When working in cramped, low-clearance spaces like the area behind a pedestal sink, a bulky tool often does more harm than good. The Hyde Caulk Aid is designed specifically for these tight quarters, featuring a slim profile that fits where fingers simply cannot reach. Its angled edges allow for precise pressure, ensuring the sealant is pushed firmly into the joint.
This tool is ideal for those who prefer a minimalist approach to home maintenance. Because it is small and inexpensive, it occupies almost no space in a junk drawer or under-sink utility caddy. While it lacks the versatility of multi-piece kits, its singular focus makes it highly effective for standard bathroom corners.
The bottom line: Choose this if the goal is a straightforward, no-fuss fix for a standard bathtub perimeter. It is a perfect entry-level tool for renters or homeowners tackling a one-off weekend project.
Cramer FUGI 5-Piece Kit: For Any Gap or Corner
Versatility is the main draw of the Cramer FUGI kit, which offers a variety of profiles suitable for almost any shape of joint. Whether the gap is perfectly square, rounded, or recessed, one of the five shapes included will almost certainly match the required finish. This is particularly useful for homes with older, uneven tile work where a uniform bead is difficult to achieve.
These pads are constructed from a material that prevents sealant from sticking to the tool itself. This prevents the “drag” that often ruins a fresh line of caulk, ensuring a smooth, continuous result. It is a favorite for those who value precision and want a result that mirrors the work of a professional contractor.
The bottom line: Invest in this set if the bathroom features complex transitions, such as stone backsplashes or non-standard floor-to-wall joints. The range of options justifies the slightly higher price point for those who prioritize long-term aesthetics.
Homax Caulk Finisher: Best for First-Time DIYers
For those who have never handled a caulking gun, the fear of creating a smeared, uneven mess can be paralyzing. The Homax Caulk Finisher is built to mitigate this by providing a wide, ergonomic handle that simplifies the motion of smoothing a bead. It offers consistent depth control, which is the most common point of failure for beginners.
The tool’s design encourages a steady, fluid motion that prevents accidental slips against the tile. It is particularly helpful for those with limited hand strength or mobility, as the shape requires less grip force than thinner, wand-like tools. It is a reliable solution for anyone who finds standard smoothing tools awkward to hold.
The bottom line: Pick this option if comfort and control are the primary concerns. While it may not fit into the tightest, most hidden gaps, its ease of use makes it a confidence-builder for first-time home repairs.
Allway 3-in-1 Tool: Remove & Replace in One Go
Home maintenance often requires preparation, and removing old, hardened caulk is usually the most labor-intensive part of the process. The Allway 3-in-1 tool combines a scraper for removing stubborn debris, a pointed end for digging out corners, and a smoothing pad for the final finish. This consolidation is a major win for small households with limited storage space.
By having the scraper and the smoother on one handle, the transition between steps is seamless. There is no need to hunt for a separate utility knife or razor blade, which also reduces the risk of scratching delicate shower surrounds or countertops. It is an efficient, all-in-one solution that respects the constraints of a busy, crowded home life.
The bottom line: This is a smart choice for those who need to strip old caulk before applying new sealant. It maximizes efficiency and saves space in the utility closet by eliminating redundant tools.
Caulk-Rite Tip: The Classic for a Perfect Bead
Many homeowners prefer the tried-and-true performance of the Caulk-Rite, a tool that has been a staple in hardware stores for years. It features a unique “fin” design that effectively manages excess caulk, keeping it from building up on the tile surface. It is remarkably simple to use and works well with almost any type of silicone or acrylic sealant.
Because of its classic design, it is easily cleaned with a quick wipe of a rag or a soak in warm soapy water. It provides a crisp, finished appearance that holds up well against daily moisture exposure in high-traffic bathrooms. Its durability makes it a tool that can be kept in the garage or toolbox for years.
The bottom line: Rely on this tool if durability and a classic, clean look are the priorities. It is a proven, cost-effective solution for homeowners who want to get the job done right without overcomplicating the process.
General Tools Caulking Kit: A Versatile 4-Piece Set
When dealing with a house that has multiple bathrooms, each with varying tile sizes and gap widths, a single-pad tool rarely suffices. The General Tools 4-piece kit provides a spectrum of sizes, allowing for a custom fit whether sealing a small vanity seam or a large gap behind a soaking tub. This set strikes an excellent balance between price and utility.
The materials used in these tools are designed to resist buildup, which simplifies the cleanup process after a long afternoon of sealing. The different shapes are clearly marked, making it easy to select the correct one before the caulk begins to skin over. This removes the guesswork from the process, especially when working on a tight schedule.
The bottom line: Buy this set if the home has varying gap sizes throughout the bathrooms. It offers the best value for money and ensures the right tool is always within reach for different areas of the house.
Albion Spatula Set: The Pro’s Choice for Glass
In homes with frameless glass shower doors or intricate mosaic tile, the finish needs to be near-invisible. The Albion Spatula set is favored by professionals for its ability to work extremely thin, precise beads that blend into the surrounding surfaces. Unlike bulkier plastic tools, these spatulas allow for a delicate touch where the risk of over-application is high.
These are essential for scenarios where the sealant must not be visible on the surface of the glass or tile. While they require a bit more practice to master, the results are cleaner than what most molded plastic tools can achieve. They are an excellent upgrade for homeowners who have moved past basic repairs and are looking for a flawless, high-end look.
The bottom line: Choose this set if the goal is a seamless, professional finish on glass or delicate stone. It requires a slightly higher skill level but rewards the user with the most polished results.
Choosing the Right Pad Shape for Your Project
The shape of the smoothing pad should match the radius of the joint being sealed. A flat edge is ideal for wide, shallow gaps, while a concave profile is necessary for creating a structural bridge between two perpendicular surfaces. Avoid the temptation to use one pad for every surface; a mismatch will often result in a bead that looks thin or pulled away from the wall.
- For 90-degree corners: Select a pad with a pointed or V-shaped profile to push the sealant deep into the junction.
- For curved vanity edges: Use a concave pad that allows for a smooth, consistent radius.
- For narrow seams: Use a thin, pointed spatula to prevent the caulk from spreading onto the tile surface.
Always dry-fit the tool by running it along the joint before applying any sealant. If the tool leaves gaps or doesn’t make contact with both surfaces simultaneously, try a different profile. Matching the tool to the specific corner geometry ensures a watertight seal and a professional appearance.
How to Get a Clean, Professional-Looking Bead
Achieving a clean bead is less about speed and more about preparation and steady pressure. Start by ensuring the surface is entirely free of old sealant, soap scum, and water, as any residue will prevent the new caulk from adhering properly. Using painter’s tape on either side of the joint is a highly recommended practice for beginners to create crisp, uniform edges.
When applying the caulk, maintain a consistent angle and speed to ensure the bead is uniform in thickness. Once applied, immediately follow with the smoothing tool, keeping it at a constant angle. Avoid stopping midway through the run; if a stop is necessary, overlap the new section slightly with the old to maintain a smooth transition.
Do not be discouraged by initial imperfections; most tools allow for a second pass if the first attempt is uneven. However, avoid “over-working” the caulk, as this can break the seal and create micro-bubbles. A single, confident pass is almost always superior to repeated corrections.
Cleaning and Storing Your Sealant Smoothing Pads
Sealant hardens quickly, making it vital to clean your tools immediately after the project is complete. While silicone is still wet, a dry paper towel or a soft cloth is usually enough to wipe away the bulk of the material. For tougher, dried residue, rubbing alcohol is an effective solvent that won’t damage the plastic or rubber materials of the pads.
Store your tools in a cool, dry place and ensure they are not crushed by heavier items in your toolbox, as a nick or dent in the smoothing edge will transfer directly to the next bead of caulk you lay down. A small, dedicated zip-top bag is an excellent way to keep a kit organized and protected. By treating these simple tools with care, they will remain effective for many home maintenance projects to come.
Choosing the right smoothing pad and following proper application techniques turns a daunting bathroom chore into a manageable and satisfying project. By focusing on the specific geometry of the gaps and maintaining clean tools, professional results are well within reach for any homeowner. Whether sealing a small vanity or a full shower surround, the right equipment makes the difference between a temporary patch and a long-lasting, watertight finish.