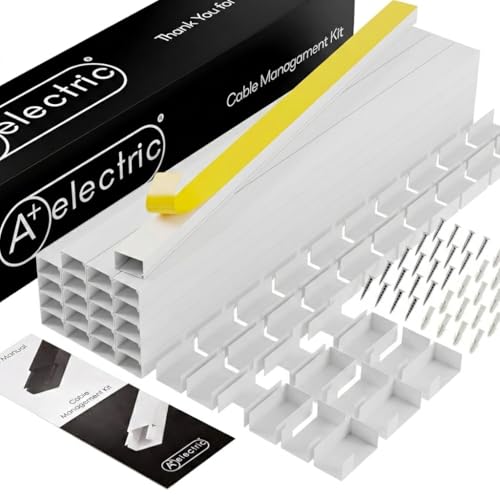
7 Best Cable Management Channels for RV Living Rooms
Tidy up your RV living room with our top 7 cable management picks. Discover durable, sleek solutions to organize messy wires and maximize your small space.
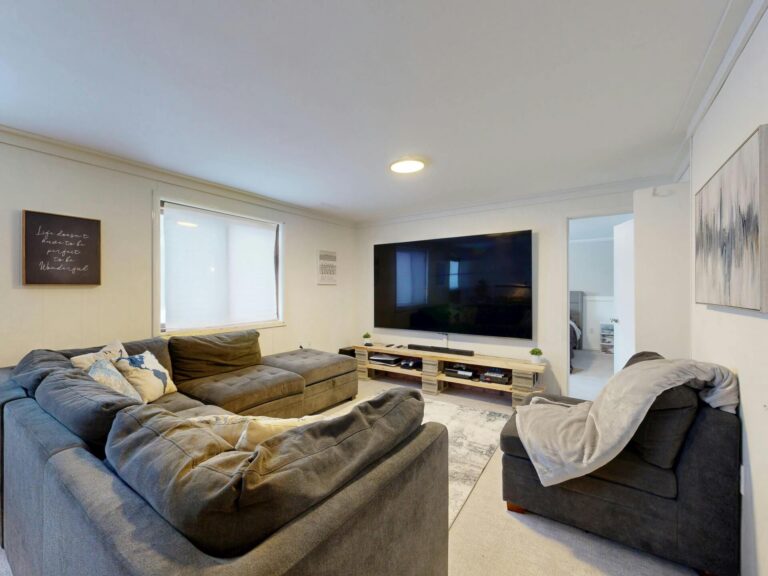
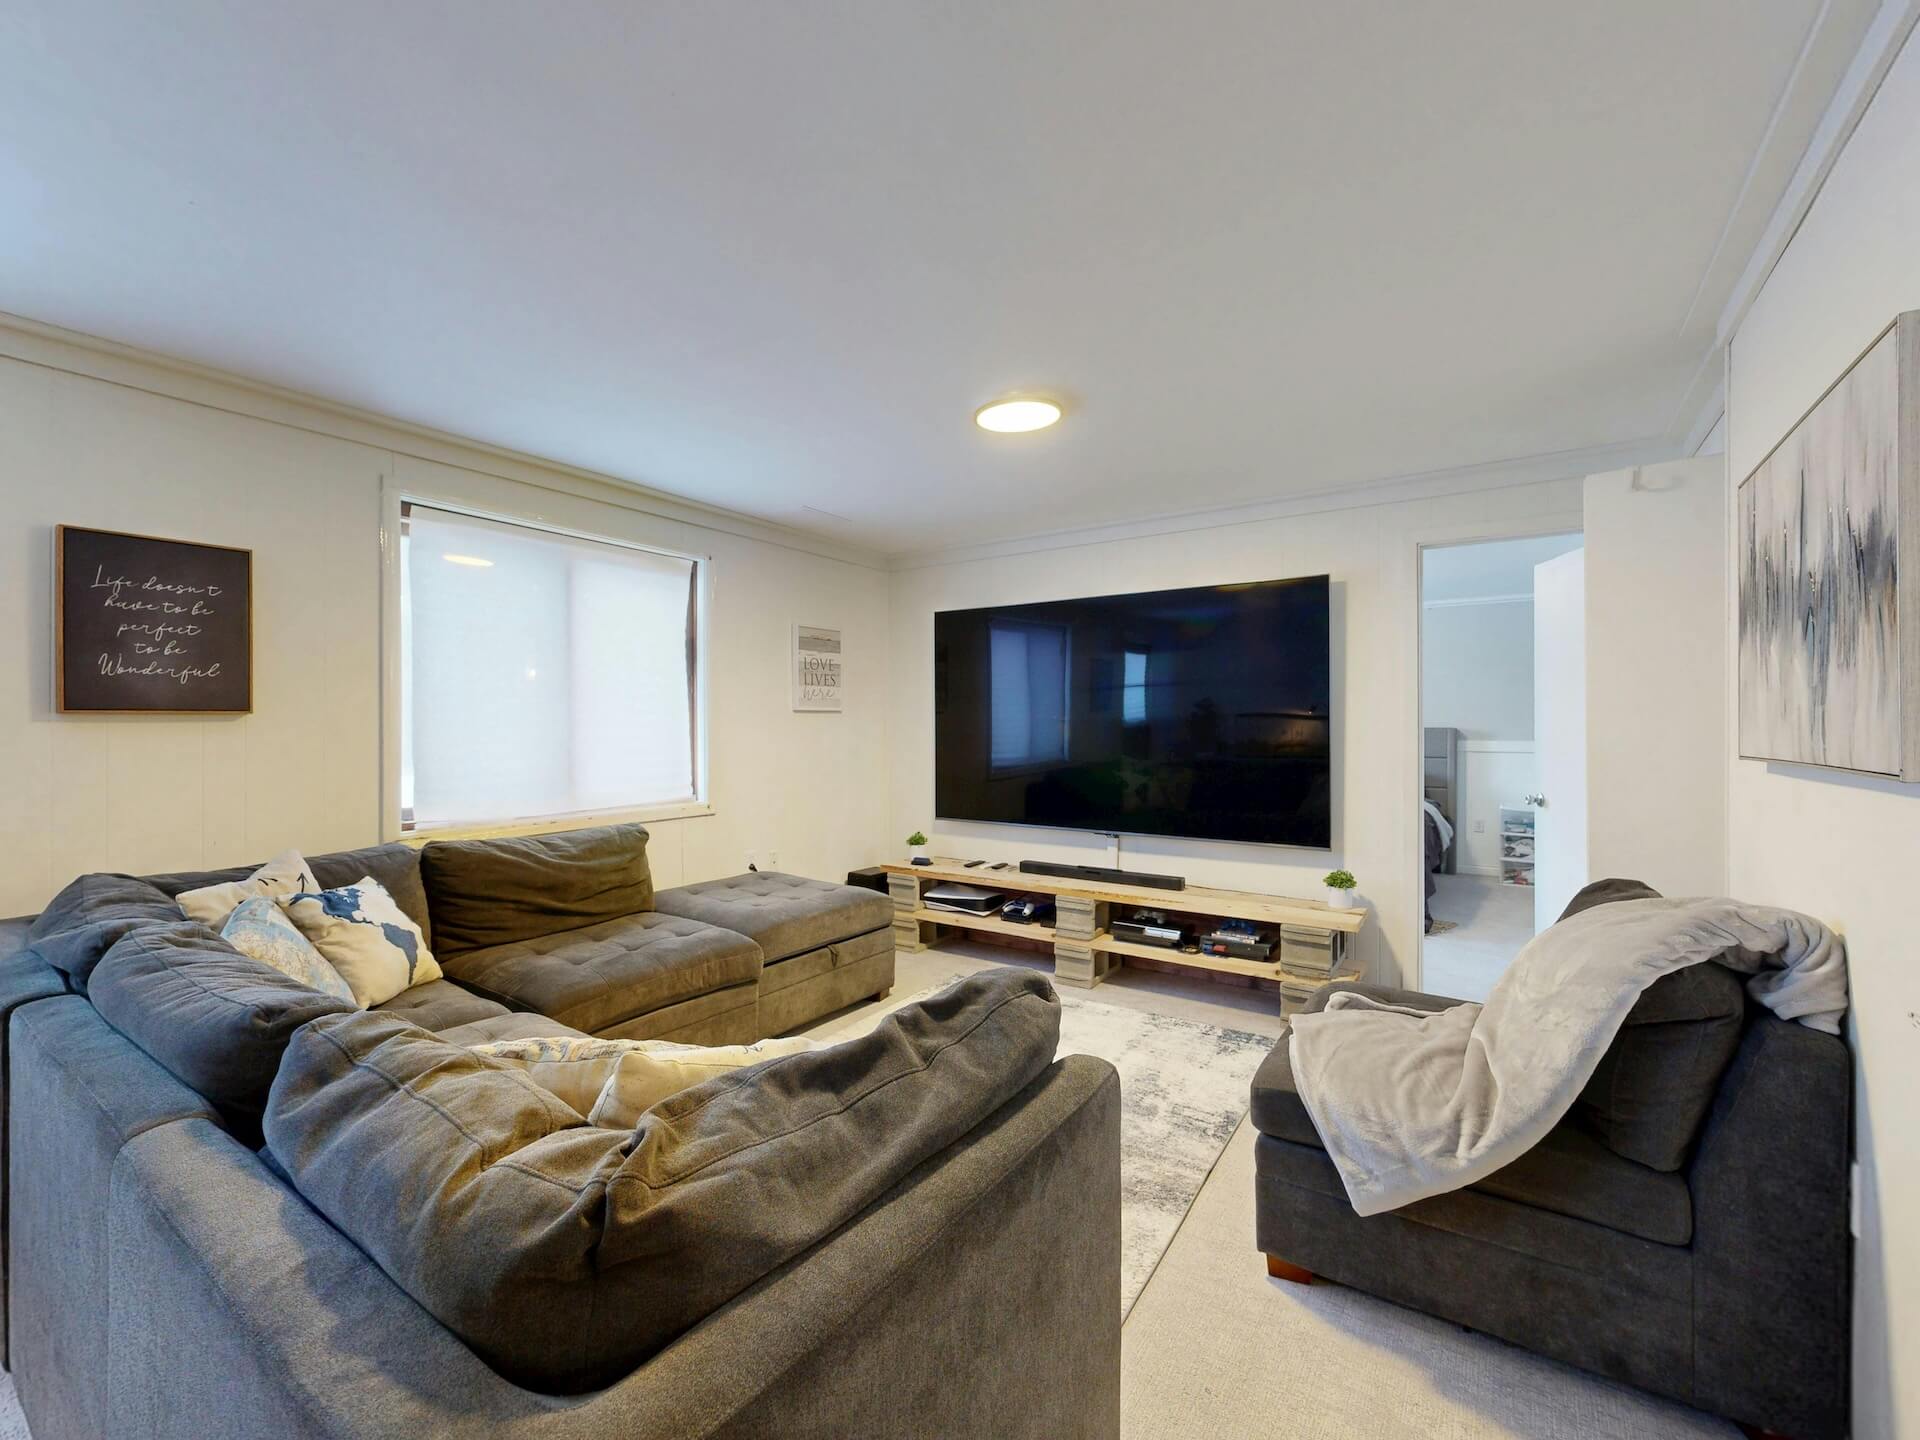
Living in an RV means every square inch counts, and nothing makes a small space feel more chaotic than a tangle of loose power cords behind your TV or entertainment center. Proper cable management isn’t just about aesthetics; it’s about preventing tripping hazards and protecting your wiring from the constant vibration of the road. With the right raceway system, you can transform a messy living area into a streamlined, functional home on wheels.
Yecaye J-Channel: Best for Easy Cord Access

If you frequently swap out devices—like moving a gaming console from your bedroom to the living area—you know how frustrating it is to unstick a permanent raceway. The Yecaye J-Channel features an open-top design that acts like a cradle for your wires rather than a closed box.
This design allows you to simply drop cables in or lift them out without having to pry open a plastic cover. It is incredibly helpful for RVers who are constantly tweaking their entertainment setups or adding new gadgets to their mobile command center.
Because it relies on gravity and a simple J-shape, you won’t be fighting with snap-on covers that tend to break after repeated use. Just keep in mind that since it is open-topped, it works best for cables running along the bottom of a wall or behind furniture where they won’t be visible from a standing position.
Delamu Cable Raceway: Best for RV Wall Blending

Most RV interiors feature light-colored walls, wood paneling, or textured vinyl that make standard white plastic raceways stand out like a sore thumb. The Delamu system is designed with a paintable surface, allowing you to match your specific wall color perfectly.
Whether your RV has a modern gray aesthetic or a traditional oak finish, you can apply a quick coat of paint to these channels to make them virtually disappear. This is a game-changer for those who want their cable management to look like a permanent, built-in feature rather than an afterthought.
The kit includes various connectors like elbows and T-joints, which help you navigate the awkward corners and cabinet transitions common in RV floor plans. While it requires a bit more prep work to paint, the visual payoff is well worth the effort for a clean, professional look.
SimpleCord Channel: Best for Corner Installations
RV living rooms are notorious for having rounded or tight corners where standard flat raceways simply refuse to sit flush. SimpleCord channels are specifically engineered with a profile that fits snugly into 90-degree corners, making them ideal for running wires from a ceiling-mounted TV down to a power outlet.
By utilizing the corner space, you keep your wall surface clear for decor or shelving. This is a clever way to maximize storage potential in a space where every bit of wall room is precious.
These channels often come with a strong adhesive backing, which is perfect for RV walls that shouldn’t be drilled into. Just ensure you clean the wall surface thoroughly with alcohol before installation to ensure the adhesive bond survives the bumps of travel.
Stageek Cable Concealer: Best for Heavy-Duty Use
If your entertainment setup involves thick HDMI cables, heavy-duty power strips, or multiple thick cords, standard thin-walled channels might buckle or pop open. The Stageek system offers a more robust, thicker plastic construction that can handle the weight of several heavy cables without warping.
This is the "workhorse" option for RVers who have a dedicated home theater setup or use large monitors for work-from-home tasks. The locking mechanism on these channels is quite secure, ensuring that your cables stay put even when the RV is navigating winding mountain roads.
While they are bulkier than other options, the peace of mind that comes with a secure, heavy-duty closure is worth the extra footprint. It’s a practical choice for those who prioritize durability and security over a low-profile, invisible appearance.
Wiremold Cordmate: Best for High-Traffic Areas
In an RV, the living room often doubles as the entryway, meaning you are constantly brushing against walls and furniture. The Wiremold Cordmate system is designed with a low-profile, rounded aesthetic that is less likely to snag on clothing or backpacks as you move through the space.
This system is a classic for a reason; it’s widely available and incredibly easy to install. The rounded edges aren’t just for looks—they provide a smooth surface that deflects impact, protecting both your cords and your wall panels from scuffs.
If you have kids or pets moving through the RV, this is the safest bet for preventing accidental pulls on your cables. It’s a reliable, no-nonsense solution that balances budget with long-term durability.
One-Cord Channel: Best for Minimalist RV Looks

Sometimes you only have one or two thin cables to hide, and a large, bulky raceway would look ridiculous. The One-Cord Channel is a slim, discreet option designed to hold exactly what its name suggests, keeping the visual footprint to an absolute minimum.
This is perfect for hiding a single thin power cord or a speaker wire that would otherwise dangle awkwardly across your living room wall. Because it is so small, you can often tuck it behind curtains or along the edge of trim where it becomes nearly invisible.
It is an affordable and effective way to tidy up without overwhelming your small space with plastic hardware. Just be realistic about your needs—if you plan on adding more devices later, you might want to size up to a slightly larger channel to avoid having to rip it out and start over.
OmniCable Raceway: Best for Tight RV Spaces
RV floor plans often include strange nooks, slide-outs, and narrow pillars that make standard cable management kits difficult to fit. The OmniCable Raceway system is highly modular, offering a wide array of small-scale connectors that allow you to customize your path around obstacles.
This system is essentially a "Lego set" for cable management, giving you the flexibility to snake wires around cabinets or through tight gaps in your slide-out mechanisms. It is the best choice for DIYers who need to navigate complex, non-standard layouts.
While it might take a little longer to plan your route, the ability to tailor the system to your specific RV’s architecture is invaluable. It’s the ultimate problem-solver for those tricky spots where nothing else seems to fit correctly.
How to Choose the Right Raceway for RV Walls
When selecting a raceway, your first step is to measure the total diameter of the cables you need to hide. Always choose a channel that is slightly larger than your bundle; trying to force too many wires into a tight space will cause the cover to pop off during travel.
Consider the surface of your RV walls, as some vinyl-wrapped panels don’t play well with strong adhesives. If you are worried about damaging the wall, look for kits that include removable adhesive strips designed for delicate surfaces.
Finally, think about your lifestyle. If you stay in one spot for months, a permanent, paintable solution is great. If you are a weekend warrior who moves constantly, choose a system that is easy to access and reinforced with extra mounting clips.
Tips for Safely Mounting Channels in an RV
Vibration is the enemy of any adhesive-backed product in an RV. Before you peel and stick, wipe the wall down with isopropyl alcohol to remove any residues, dust, or cleaning sprays that could weaken the bond.
For extra security, especially in areas prone to heat fluctuations, consider using a small amount of clear silicone caulk or additional command-style strips to supplement the adhesive. If you choose to use screws, ensure they are short enough that they won’t penetrate the exterior wall or hit any hidden wiring behind the paneling.
Always avoid mounting channels directly onto slide-out seals or moving parts. Give your cables enough "slack" at the transition points so that when the slide-out moves, it doesn’t pull the raceway off the wall or damage your electronics.
Maintaining Your Cable Setup During Travel
Before you hit the road, do a quick "shake down" check of your cable management. Ensure all covers are snapped shut and that no cords are putting tension on the connectors or the raceway itself.
If you notice a channel starting to peel, don’t wait for it to fall off—re-apply it immediately using a fresh adhesive strip. Keeping a small kit of spare raceway clips and double-sided tape in your storage bay is a smart move for any RVer.
Remember that temperature changes inside an RV can affect adhesives over time. If your rig is sitting in storage during the winter, check your cable channels when you bring it out for the first trip of the season to ensure everything is still secure.
Managing cables in an RV is a small project that pays off with a much more relaxing and organized living space. By choosing the right system for your specific layout and taking the time to install it securely, you can eliminate the clutter that often plagues mobile living. Don’t be afraid to mix and match these solutions to create a setup that works for your unique home on the road.