6 Wall Studs for Secure Reel Installation Tips
Secure your reel installation! Discover 6 expert wall stud tips for a rock-solid setup. Learn how to find and use studs effectively.
Whether mounting a retractable hose reel in the garage or a heavy-duty cord reel in the workshop, the integrity of the installation depends entirely on the connection to the building frame. Relying on drywall anchors for these items is a recipe for damaged walls and broken equipment. Securely anchoring to wall studs ensures that the constant pulling and tension of daily use do not compromise the mounting surface.
How to Find a Wall Stud Without Any Guesswork
Many homeowners rely on a magnetic stud finder to track the drywall screws already present in the wall. These magnetic tools are inexpensive, reliable, and require no batteries, making them a staple for anyone avoiding high-tech gadgets that often misread through thick surfaces.
If a magnetic finder fails to provide a clear reading, look for architectural clues. Baseboards are often nailed directly into the studs, and switches or outlets are almost always mounted to the side of a stud.
When in doubt, use the “knock test” to identify the hollow sounds versus the solid thud of a stud. Always confirm with a small, discreet test hole before committing to the final mounting position to ensure absolute accuracy.
Gathering the Right Tools for the Job Ahead
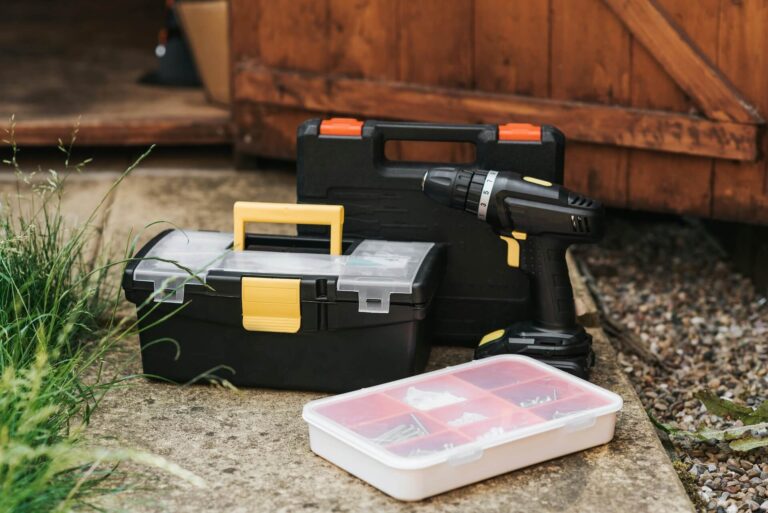
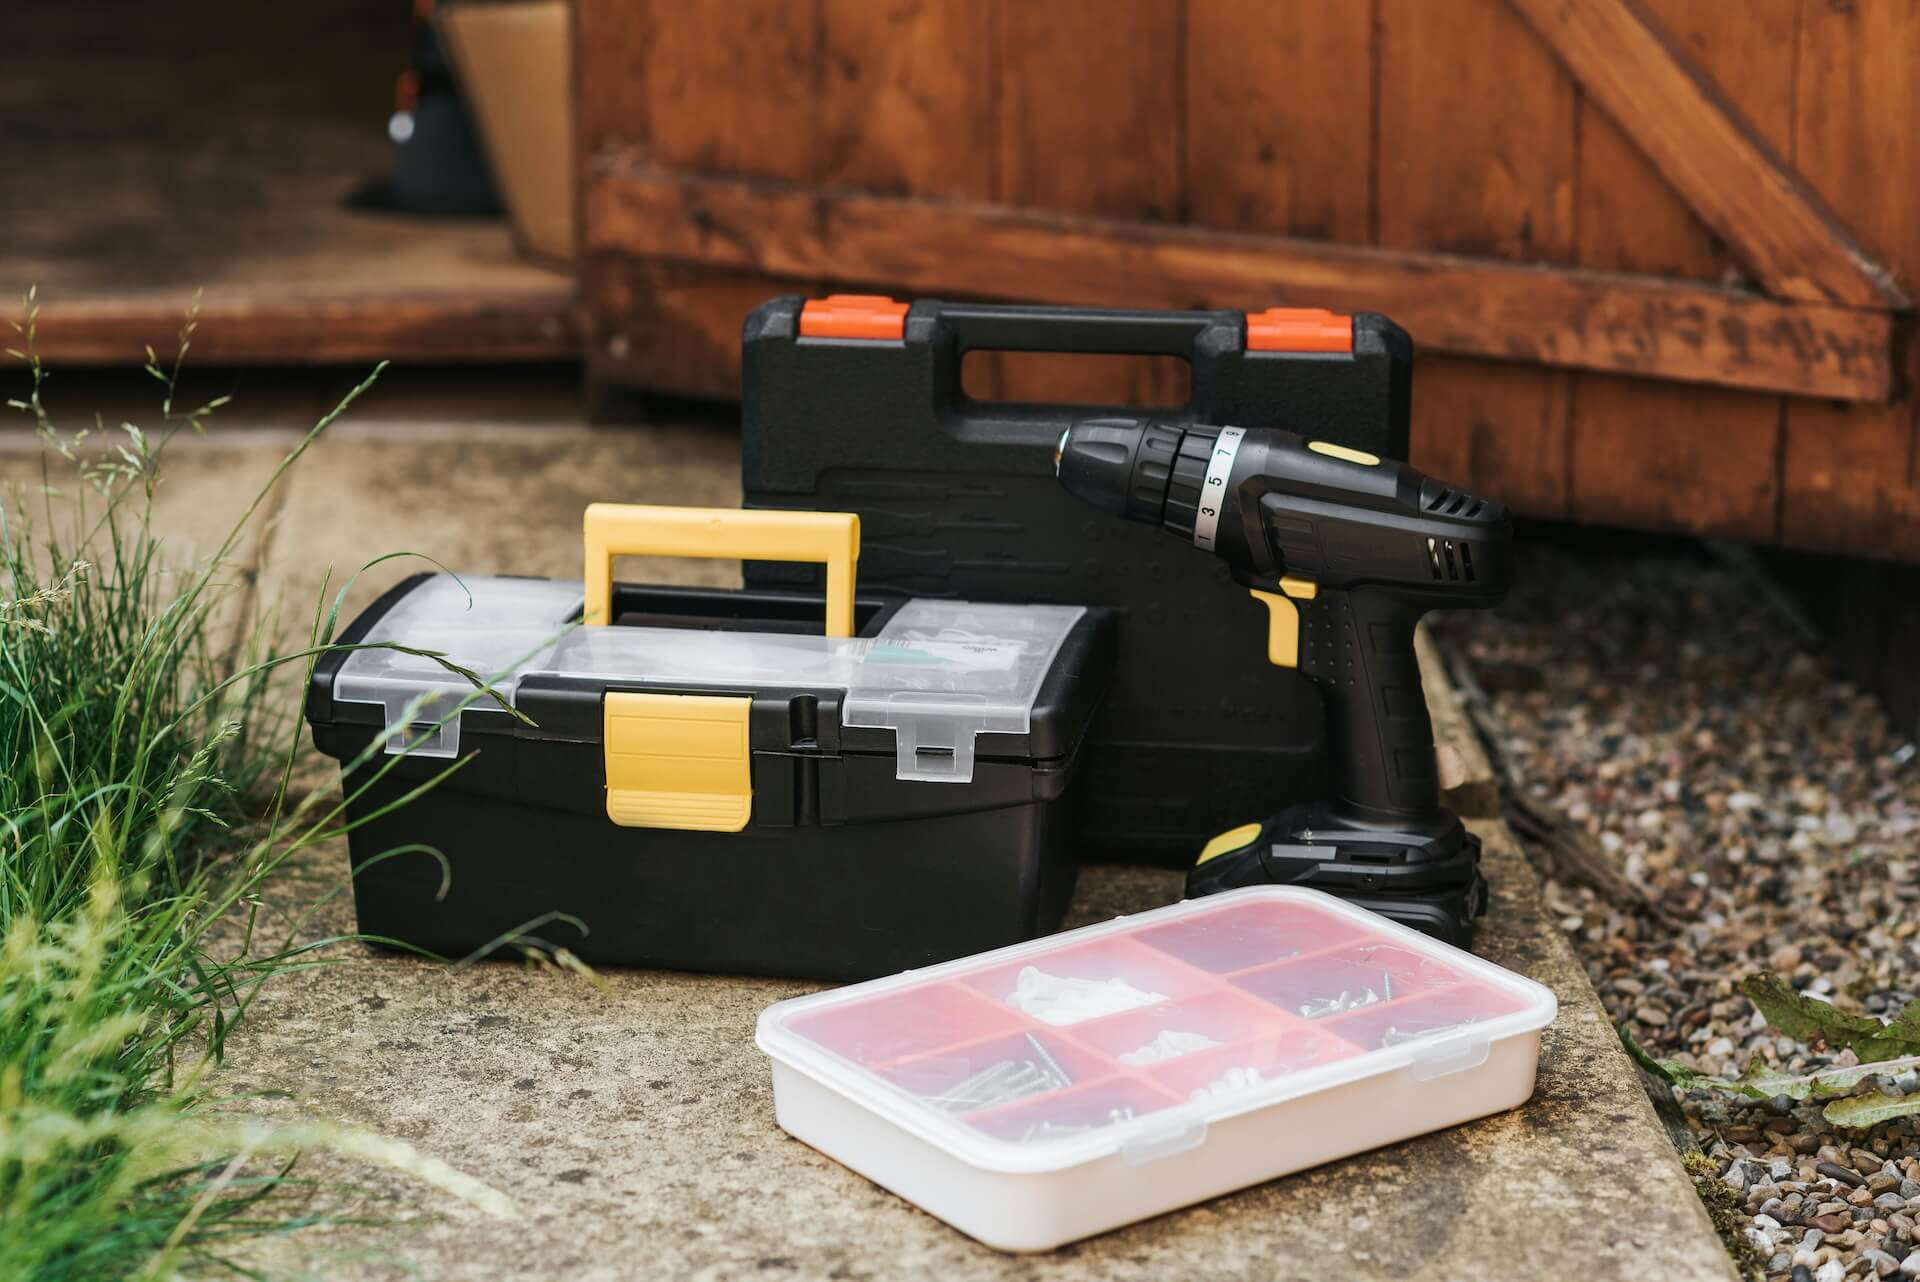
Before beginning the installation, assemble a standard power drill, a set of drill bits, and a socket wrench. A stud finder is essential, as is a reliable bubble level to ensure the reel operates smoothly without binding.
Do not overlook the importance of a quality tape measure and a pencil for marking precise anchor points. Having these items organized before starting prevents unnecessary trips back to the garage mid-project.
Investing in a set of impact-rated driver bits will save time and prevent stripped screw heads. Avoid using manual screwdrivers for heavy-duty reels, as they lack the torque required to seat large hardware flush against the mounting bracket.
Choosing Lag Bolts for a Truly Secure Mount
The hardware included with many store-bought reels is often generic and sometimes insufficient for heavy, high-tension units. Replace flimsy screws with high-grade lag bolts, which offer superior grip and shear strength in structural wood.
For most standard hose or cord reels, 3/8-inch lag bolts provide an ideal balance between size and holding power. Ensure the bolts are long enough to penetrate at least two inches into the solid center of the stud.
Always use washers with lag bolts to distribute the pressure across the metal mounting plate of the reel. Zinc-plated or galvanized bolts are necessary to prevent rust if the reel is being installed in an unconditioned garage or outdoor shed.
Why You Must Always Drill a Pilot Hole First
Skipping the pilot hole is the most common reason for split wall studs, which ruins the wood’s ability to hold the fastener tightly. A pilot hole guides the lag bolt into the center of the stud and prevents the wood from splintering under the pressure of the screw threads.
Select a drill bit that is slightly smaller in diameter than the shank of the lag bolt. This allows the threads to bite firmly into the surrounding wood fibers without creating excessive outward force.
Taking the extra thirty seconds to drill correctly is the difference between a secure mount and a loose one. If the drill meets significant resistance halfway through, back it out and clear the wood shavings before proceeding to avoid snapping the bit.
Finding the Right Height and Spot for Your Reel
Consider the frequency of use when determining height; reels used daily should be placed at waist or shoulder level to prevent strain. If the reel is mounted too high, the repetitive upward pull can eventually work the hardware loose over time.
Ensure there is enough clearance on either side of the reel for the hose or cord to swing freely as it retracts. Installing a reel in a cramped corner often leads to kinks, knots, and frustration during everyday chores.
Evaluate the swing radius of the mounting bracket if the reel is designed to pivot. Always choose a spot that keeps the unit clear of door paths and high-traffic areas to minimize accidental bumps.
A Quick Safety Check for Wires and Plumbing
It is a common fear to strike a hidden wire or pipe while drilling into a wall, but a little logic goes a long way in avoiding disaster. Avoid drilling directly above or below light switches, outlets, or visible plumbing lines running along the wall.
If the area behind the wall is unknown, consider using a thermal imaging camera or a multi-scanner that detects live voltage. These tools offer peace of mind that a basic stud finder simply cannot provide.
When in doubt, drill slowly and stop immediately if the bit encounters a texture change or soft resistance that does not feel like wood. If a pipe or wire is suspected, choose an alternative location just a few inches to the side to stay safe.
Don’t Forget to Factor in the Reel’s Full Weight
A hose reel might look light when empty, but a full garden hose—especially when wet—can add significant weight to the mounting point. Always verify the maximum weight capacity of the reel housing and the bracket before installation.
For heavier industrial reels, consider mounting a piece of 2×6 lumber horizontally across two or three studs first. This creates a secure, reinforced “cleat” that allows the reel to be mounted anywhere along its length without needing to hit multiple studs perfectly.
Do not overload a plastic housing with a high-capacity steel reel. Match the strength of the mounting hardware to the heaviest weight the reel will ever be expected to carry.
Mounting on Plaster Walls vs. Standard Drywall
Plaster walls, common in older homes, are notoriously difficult to mount into because they are thick, brittle, and often backed by wooden lath. Using a standard drill bit can crack the plaster, so use a masonry bit to carefully drill through the surface before reaching the stud.
Standard drywall, by contrast, is soft and provides zero structural support for the reel itself. The entire burden must be carried by the stud, so the connection through the drywall to the wood is strictly for stability and spacing.
Regardless of the wall material, ensure the mounting bracket sits flush against the surface. Any gaps between the bracket and the wall will act as a lever, increasing the pressure on the lag bolts when the reel is under tension.
How to Get a Rock-Solid Hold on the Wall Stud
Once the pilot holes are drilled and the bracket is positioned, drive the lag bolts in using a socket wrench rather than a power drill for the final turns. This allows for better tactile feedback, ensuring the bolt is tightened until the bracket is immovable.
Be careful not to over-tighten to the point of stripping the wood fibers inside the stud. The goal is a firm, snug connection where the bracket no longer shifts or wobbles under pressure.
Check the level one last time before tightening the final bolt to ensure the weight distribution is even across all fasteners. A perfectly level reel will experience less wear on its internal mechanism over the years.
The Final Tug Test and Long-Term Maintenance
Once the installation is complete, give the reel a firm, steady pull in the direction of intended use. Observe the wall and the bracket for any signs of movement or popping sounds; there should be absolutely no deflection.
Revisit the mounting hardware every six months, especially in areas with significant temperature fluctuations, like unheated garages. Wood expands and contracts with the seasons, which can cause lag bolts to loosen slightly over time.
A quick quarter-turn with a wrench during seasonal transitions will maintain the integrity of the mount for years. Treat the reel installation as a semi-permanent fixture and perform regular inspections to ensure the household stays safe and organized.
Securing a reel to the wall is a straightforward task that provides immense value in terms of workspace efficiency and equipment longevity. By respecting the structural limitations of your home and using the correct hardware, you ensure that even the heaviest reels remain firmly in place for years of trouble-free operation.