7 Best Heavy-duty Adhesive Cable Clips for RV Entertainment Systems
Organize your RV entertainment setup with our top 7 heavy-duty adhesive cable clips. Discover durable, vibration-resistant solutions for a tidy, secure space.
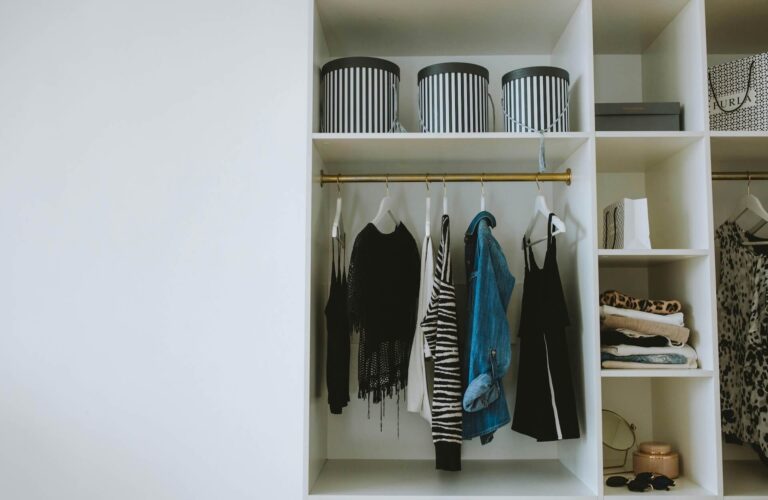
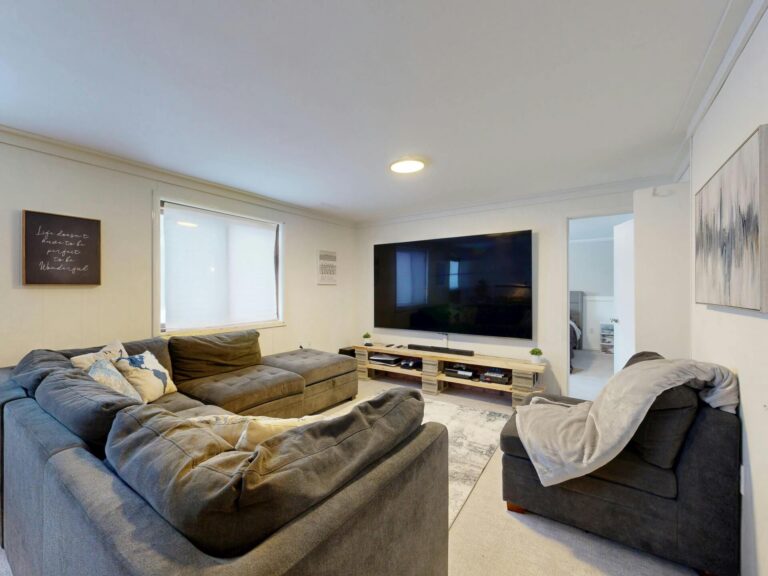
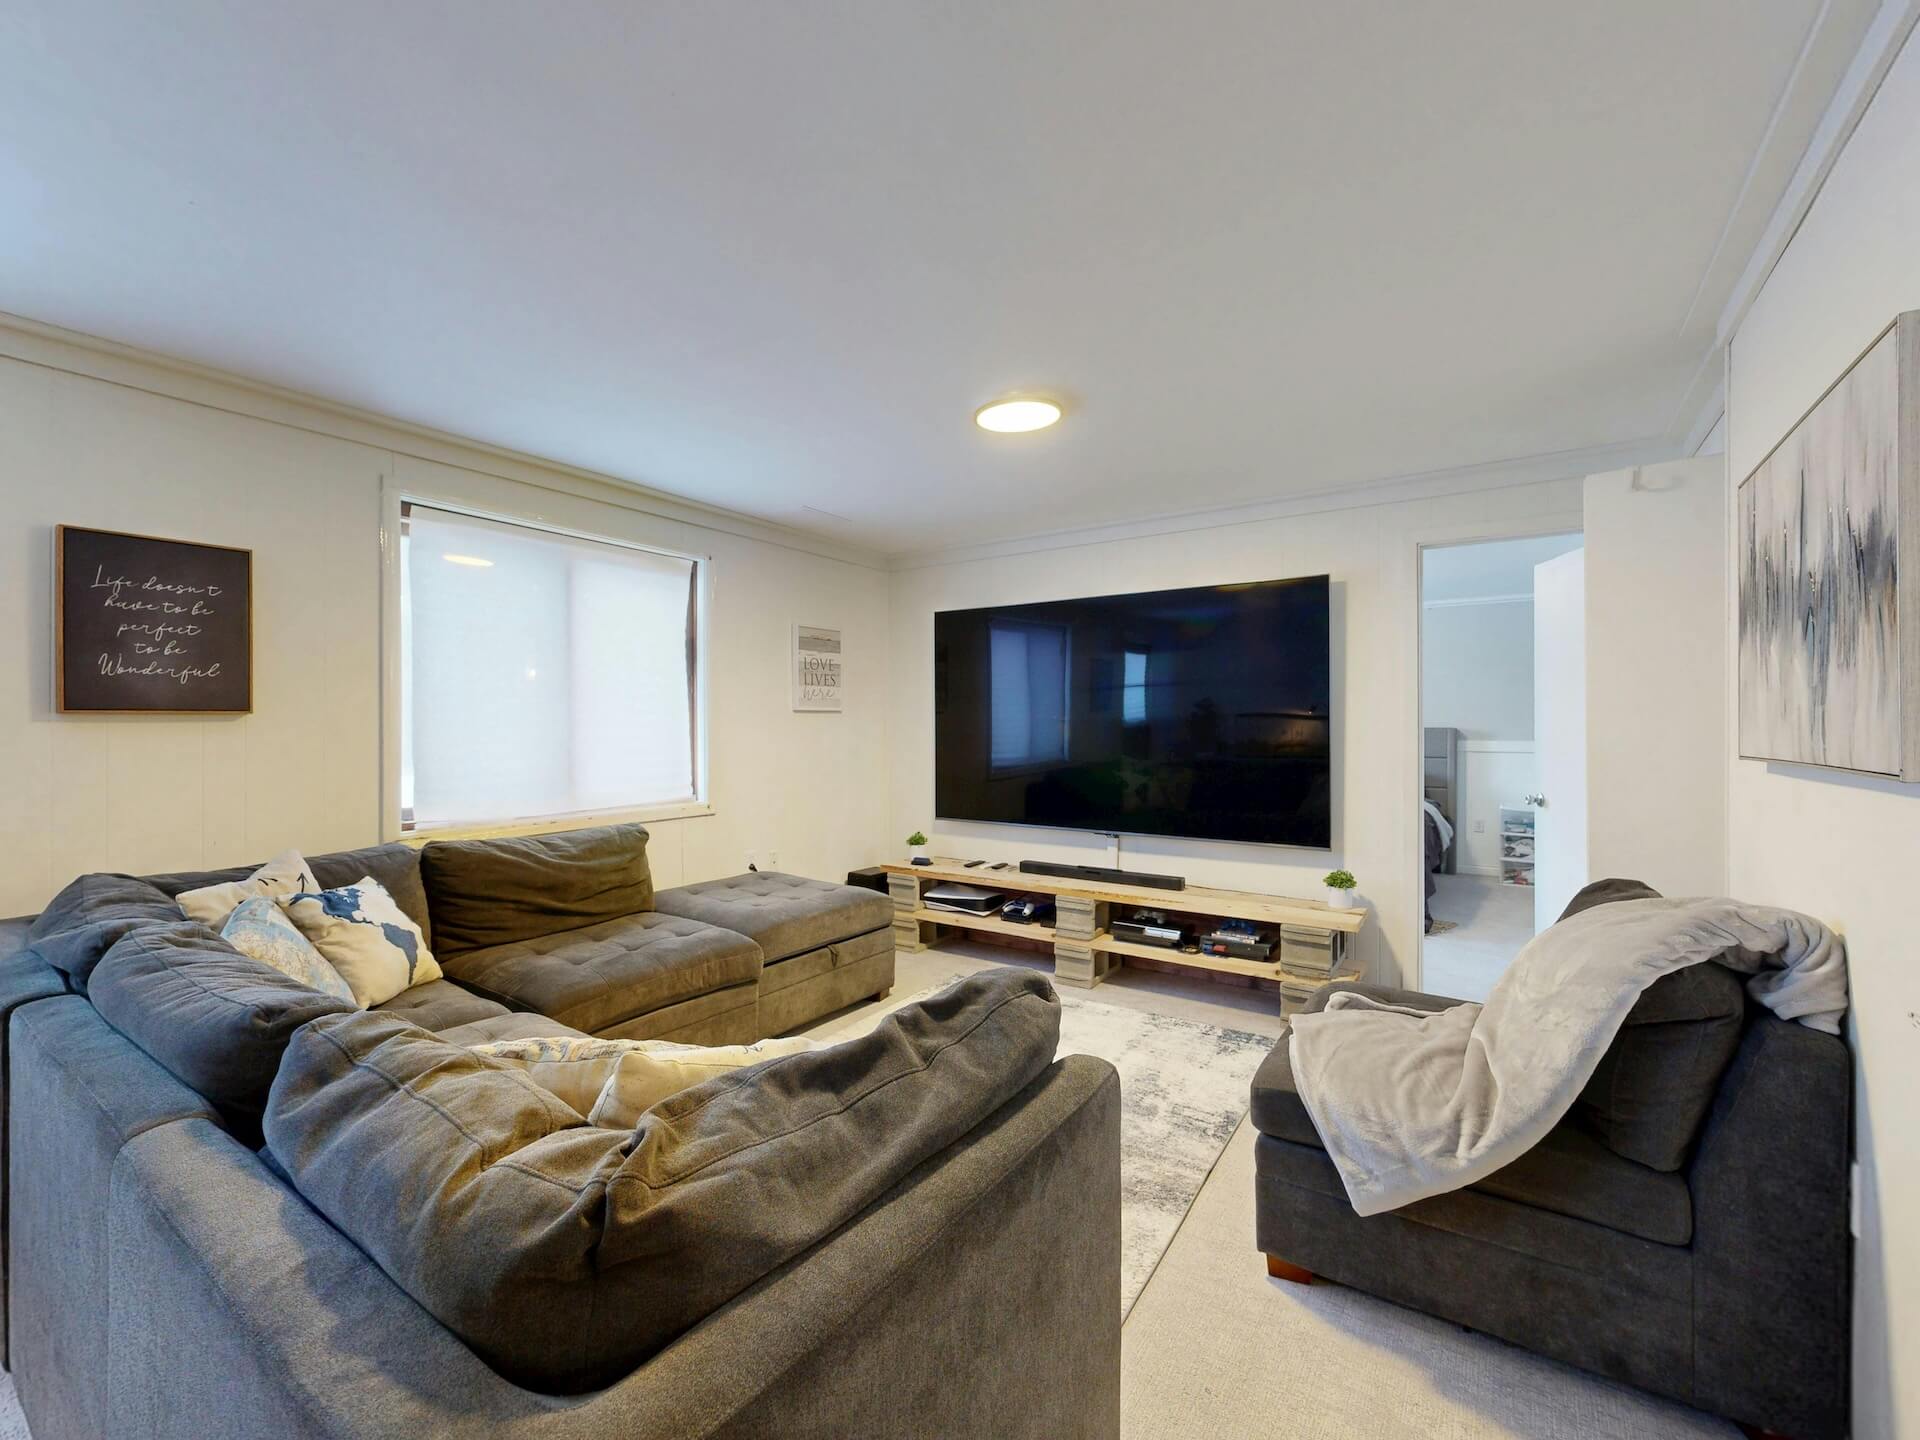
Managing a tangle of wires behind your RV entertainment center is more than just an aesthetic choice; it’s a necessity for preventing damage during travel. A well-organized system ensures that cables don’t fray or disconnect while you’re navigating winding roads. These seven solutions offer the durability and reliability needed to keep your media setup secure and stress-free.
Command Large Cord Clips for Heavy-Duty RV Cables
If you have ever dealt with the frustration of a TV power cord vibrating loose while driving, you know the value of a solid anchor point. Command Large Cord Clips are a staple for RVers because they provide a robust hold without the need for screws or drills. They are particularly useful for those who want to avoid making permanent holes in their RV’s interior paneling.
The beauty of these clips lies in their balance between strength and accessibility. Because they use a stretch-release adhesive, they are perfect for renters or those who might want to reconfigure their entertainment setup later. However, they do require a completely clean, dry surface to reach their maximum weight capacity.
Keep in mind that these clips are best for single, thicker cables rather than large bundles. If you are trying to secure a thick HDMI cable alongside a power cord, you may find the clip’s capacity a bit tight. For the best results, use them to anchor cables at regular intervals along the wall to distribute the weight.
Monoprice Adjustable Clips for Custom RV Routing
Sometimes your RV’s wall layout doesn’t follow a straight line, making standard clips difficult to use. Monoprice adjustable clips are a game-changer for these custom configurations because they allow you to open and close the loop as needed. This is ideal for families who frequently swap out gaming consoles or media players.
These clips are often more budget-friendly than premium hardware store brands, making them a great choice for stocking up. Because they are adjustable, you don’t have to rip them off the wall every time you add a new cable to your system. Simply unlatch the clip, add the extra wire, and snap it back into place.
The trade-off here is the adhesive backing, which is generally less aggressive than industrial-grade options. If you find the factory adhesive failing on textured RV walls, a small dab of clear silicone or a replacement strip of high-bond mounting tape can solve the issue. They are a practical, "good enough" solution for most casual media setups.
E-Z Hook Adhesive Mounts for Secure Cable Bundling
If your entertainment system involves a "spaghetti" of wires coming from a soundbar, satellite box, and TV, you need a way to group them into a single, neat line. E-Z Hook mounts allow you to use zip ties or hook-and-loop fasteners to bundle several cables together. This keeps the area behind your TV looking clean and prevents individual wires from snagging on cabinet doors.
These mounts are incredibly low-profile, which is essential in the tight, cramped spaces typical of RV cabinetry. By bundling your cables, you reduce the number of individual adhesive points you need to stick to your walls. This minimizes the risk of clips popping off due to the constant vibrations of the road.
Be aware that these mounts are meant to be used with cable ties, which means they aren’t as "quick-release" as other options. If you are the type of person who changes your electronic setup every few weeks, you might find the constant cutting and replacing of zip ties tedious. For a permanent, set-it-and-forget-it setup, however, they are hard to beat.
D-Line Cable Organizers for RV Entertainment Walls
When you have cables running down an open wall section, standard clips can look cluttered and messy. D-Line organizers act as a decorative raceway, hiding the cables entirely behind a sleek, paintable cover. This is the best way to achieve a high-end, professional look in a small RV living area.
These organizers are particularly effective for households with young children or pets, as they prevent curious hands or paws from pulling on loose wires. They provide a physical barrier that keeps your cables protected from accidental tugs. Because they are rigid, they also provide a structural guide that prevents cables from bending at sharp, damaging angles.
The downside is that they are more expensive and require more precise installation than simple clips. You will need to measure your wall space carefully and potentially cut the raceway to size. If you want a clean, finished appearance that makes your RV feel more like a permanent home, the extra effort is well worth it.
Alex Tech Braided Sleeves for Tangle-Free Systems
Sometimes the best way to manage cables isn’t to clip them to the wall, but to wrap them together. Alex Tech braided sleeves are flexible, expandable tubes that house all your entertainment cables in one neat, protective sheath. This is a fantastic solution for the area between your TV and your media shelf where wires are most visible.
The braided material is highly durable and resistant to the abrasion that happens when cables rub against RV furniture during transit. It also gives your setup a uniform look, turning a mess of multicolored wires into a single, tidy black or gray line. It’s an easy way to make a DIY setup look like it was installed by a pro.
One thing to note is that you will still need a few clips to anchor the sleeve to the wall or the back of the TV stand. The sleeve itself keeps the mess organized, but it doesn’t provide the mounting point. Using these in combination with a few heavy-duty clips is the ultimate strategy for a clean, secure RV media center.
StarTech Cable Management Clips for High-Heat Use
RV entertainment centers can get surprisingly warm, especially if you have a console or amplifier tucked into a small, unventilated cabinet. StarTech clips are designed with high-quality materials that won’t become brittle or lose their grip when exposed to fluctuating temperatures. This makes them a reliable choice for the "behind-the-scenes" areas where heat buildup is common.
These clips are generally more industrial in design, focusing on function over form. They are perfect for mounting in hidden areas like the inside of a cabinet or along the floor trim where they won’t be seen. Their durability means you won’t have to worry about replacing them after a hot summer of camping.
While they are excellent for durability, they often lack the aesthetic polish of decorative raceways. They are strictly utilitarian tools meant for heavy lifting and long-term stability. If your priority is a system that won’t fail you after a few years of travel, these are a solid, no-nonsense investment.
Gardner Bender Cable Tie Mounts for RV Stability
For the RVer who wants the most secure hold possible, Gardner Bender mounts are the gold standard. These are heavy-duty plastic bases that use high-strength adhesive to stick to almost any surface. When paired with high-quality nylon cable ties, they create an anchor that can withstand the heavy vibrations of off-road travel.
These are best used in hidden locations, such as the underside of a shelf or the back of a cabinet, because they aren’t meant to be "pretty." They are, however, incredibly effective at keeping heavy power cables from sagging or pulling. They are the choice for those who value structural integrity above all else.
The biggest challenge with these is the sheer strength of the adhesive. If you ever need to remove them, you will likely need a heat gun and some adhesive remover to clean the residue. They are a semi-permanent solution, so make sure you are happy with your cable routing plan before you commit to sticking them down.
How to Prep RV Surfaces for Maximum Adhesive Hold
The most common reason for cable clip failure in an RV is improper surface preparation. RV walls are often covered in thin vinyl wallpaper or textured laminates that can harbor dust, grease, or manufacturing residues. Before you peel the backing off any clip, take the time to wipe the area down with a mixture of isopropyl alcohol and water.
Avoid using household cleaners that contain oils, waxes, or silicone, as these will prevent the adhesive from bonding properly. Once the surface is clean and completely dry, press the clip firmly into place for at least 30 seconds. Applying firm, even pressure is the secret to activating the pressure-sensitive adhesives used on most of these products.
If the wall is heavily textured, consider using a small piece of double-sided mounting tape that is specifically designed for uneven surfaces. You can also lightly sand the area if it is a non-visible spot, though this is rarely necessary if the surface is cleaned correctly. A little patience during the prep stage saves you from having to redo the work later.
Best Cable Routing Strategies for RV Media Centers
Effective cable management in an RV is all about minimizing slack. When cables are long and loose, they are more likely to snag on cabinet doors or get caught when you are moving your TV mount. Measure your required cable lengths carefully, and use cable ties to bundle excess length behind the TV where it won’t be seen.
Always aim for a "gravity-defying" route, meaning you should support the weight of the cables so they aren’t pulling downward on the ports of your electronics. A heavy HDMI cable hanging from a TV port can eventually loosen the connection or damage the port itself. Use clips to create "strain relief" loops so that the weight is supported by the wall, not the device.
Finally, consider the movement of your RV. If you have a swivel TV mount, leave enough "service loop" in the cables so that they can move freely without stretching. Test the full range of motion of your TV or cabinet doors before you finalize the placement of your clips.
Essential Tips for Removing Clips Without Damage
When the time comes to remove your clips—whether you are upgrading your system or preparing to sell your RV—you need to be gentle to avoid tearing the wall covering. Most adhesive clips respond well to the application of a little heat. Use a hair dryer on a low setting to warm the adhesive, which will soften it and make it easier to peel away.
Once the clip is off, you will likely be left with a sticky residue. A citrus-based adhesive remover or a little bit of rubbing alcohol on a microfiber cloth will usually take care of the remains. Always test your remover on an inconspicuous area of the wall first to ensure it won’t discolor or damage the vinyl finish.
Never use a metal scraper or a sharp knife to pry clips off the wall, as this is a quick way to leave permanent gouges. If the adhesive is particularly stubborn, use a piece of dental floss to "saw" behind the clip, cutting through the foam tape. This is a safe, effective method that keeps your RV walls looking pristine.
Investing time in a robust cable management system will pay dividends in both the longevity of your electronics and your own peace of mind. By choosing the right clips for your specific routing needs and prepping your surfaces correctly, you can create a professional-grade media setup. Enjoy your next trip with the confidence that your entertainment system is built to stay in place.